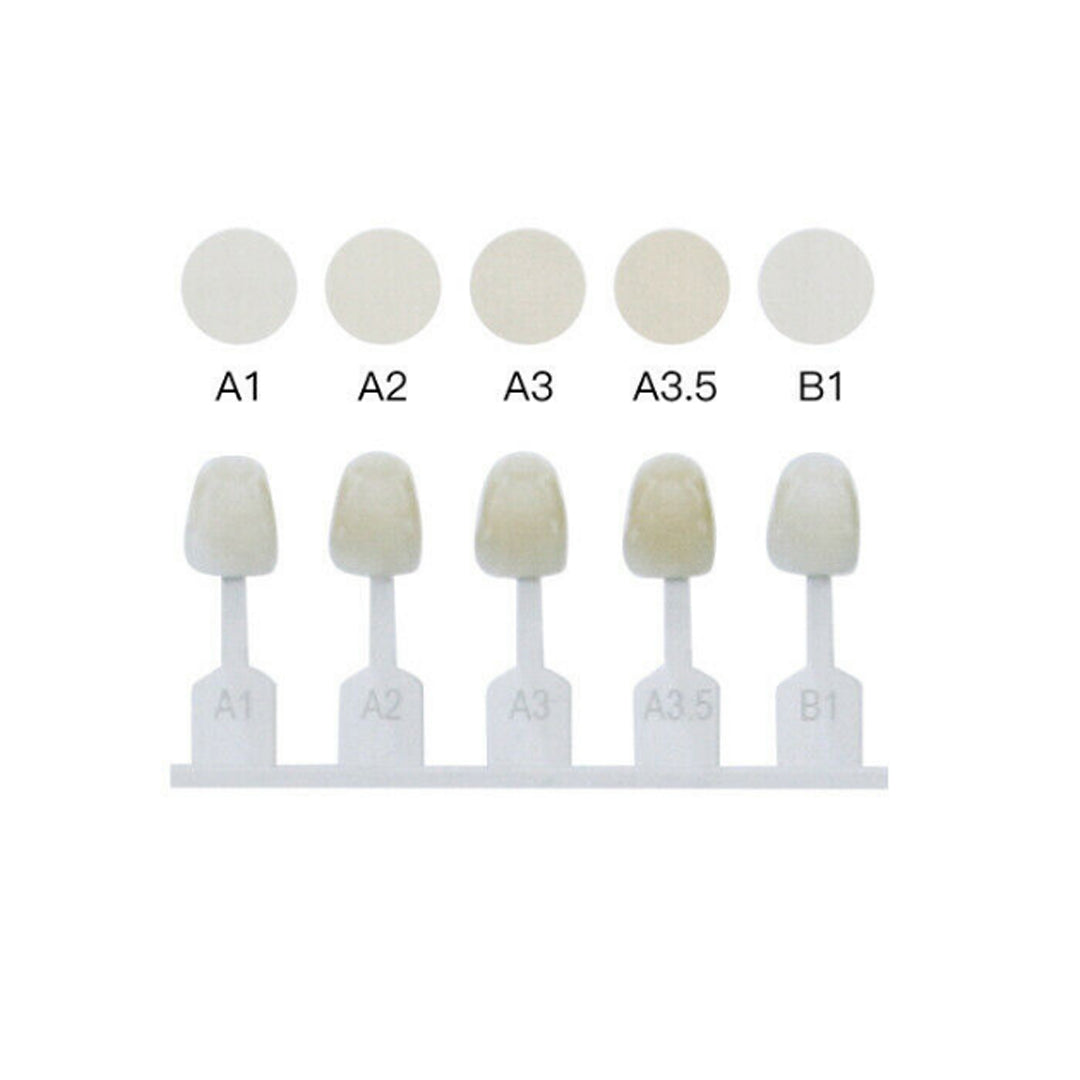
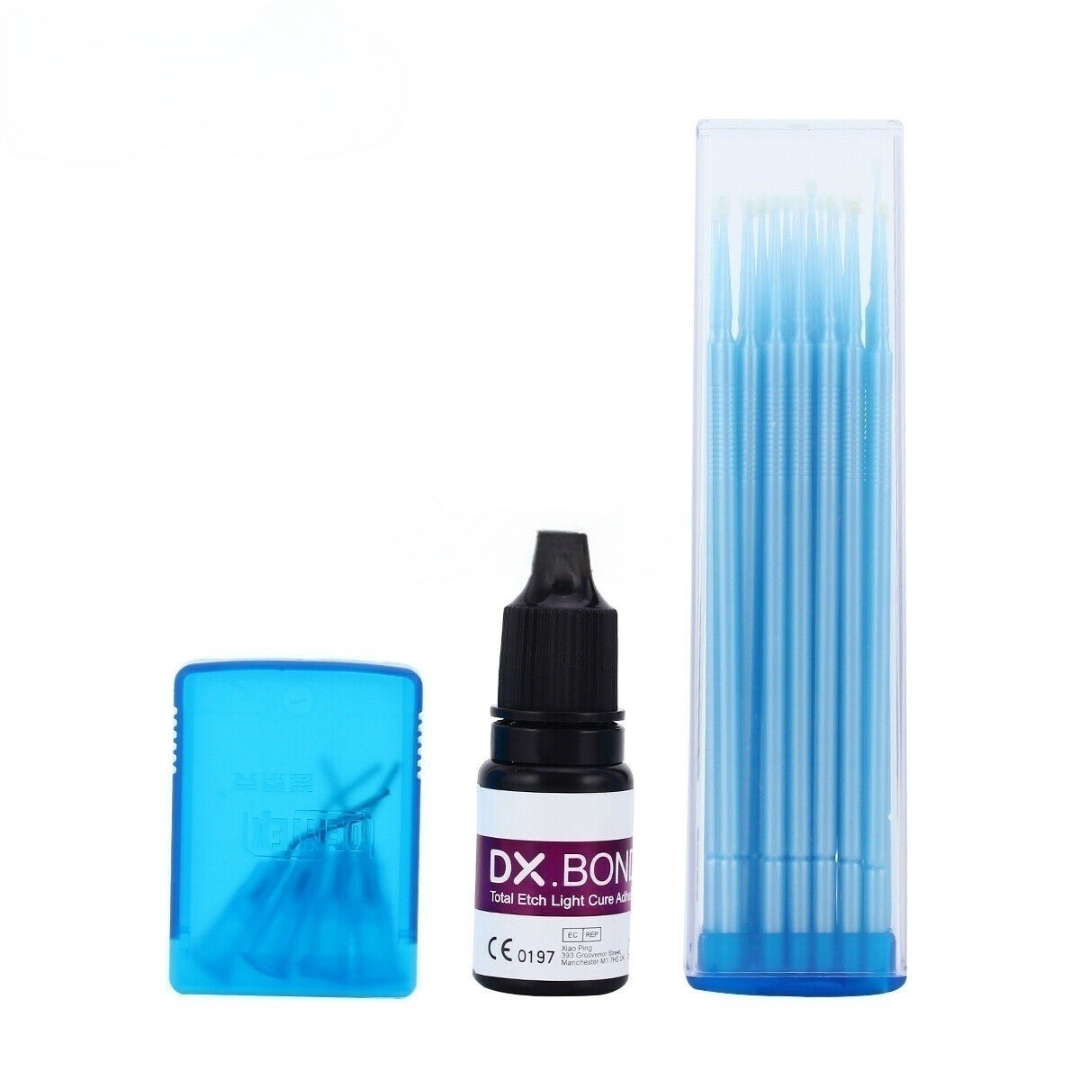
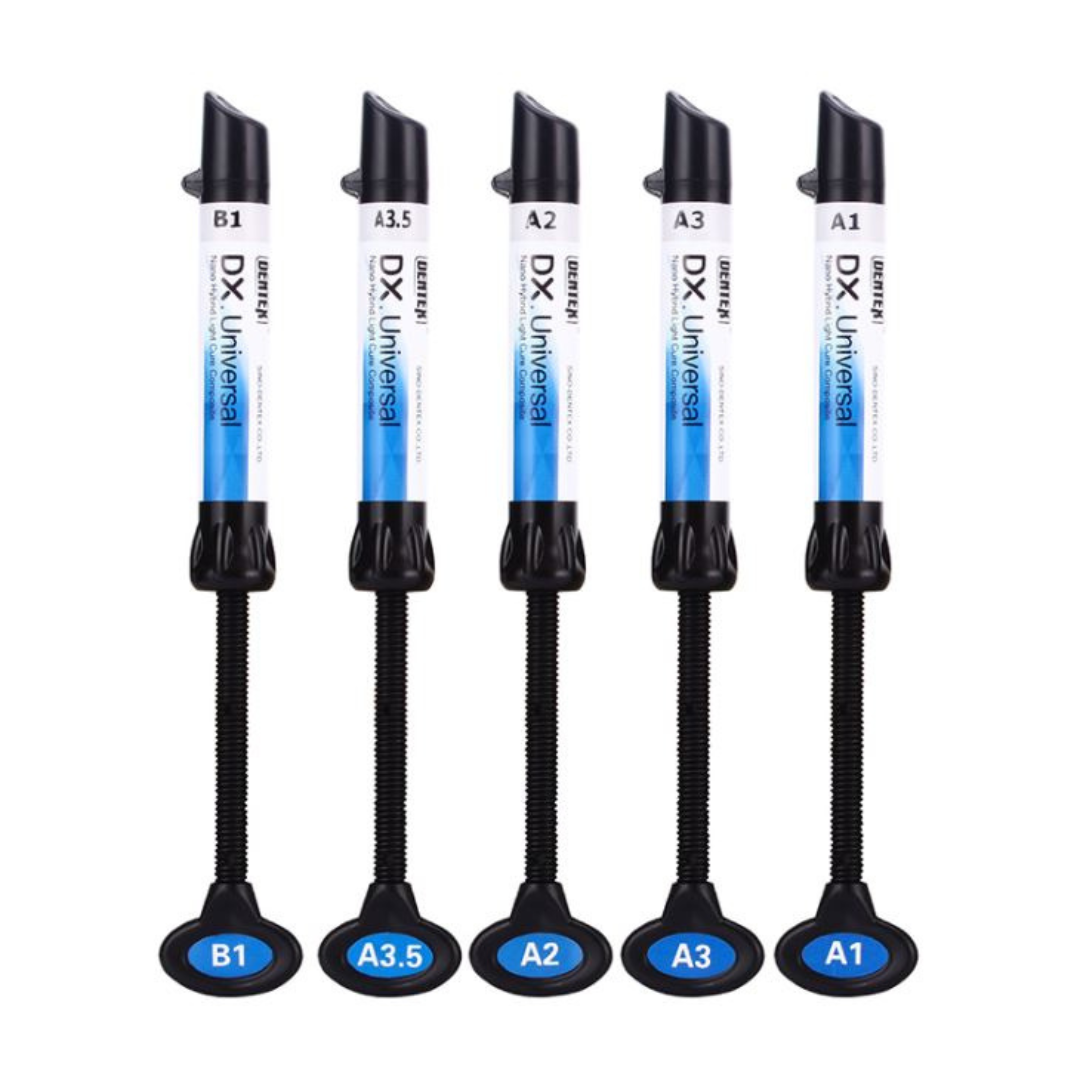
The Tooth Gem Adhesive Kit is the complete adhesion essentials you need for tooth gem application. It is equipped with 5 different colours of Light Cure Composite to suit different teeth shades.
See more bestselling products in our Tooth Gems & Glue collection and don't miss out on deals from Eye Design Professional.
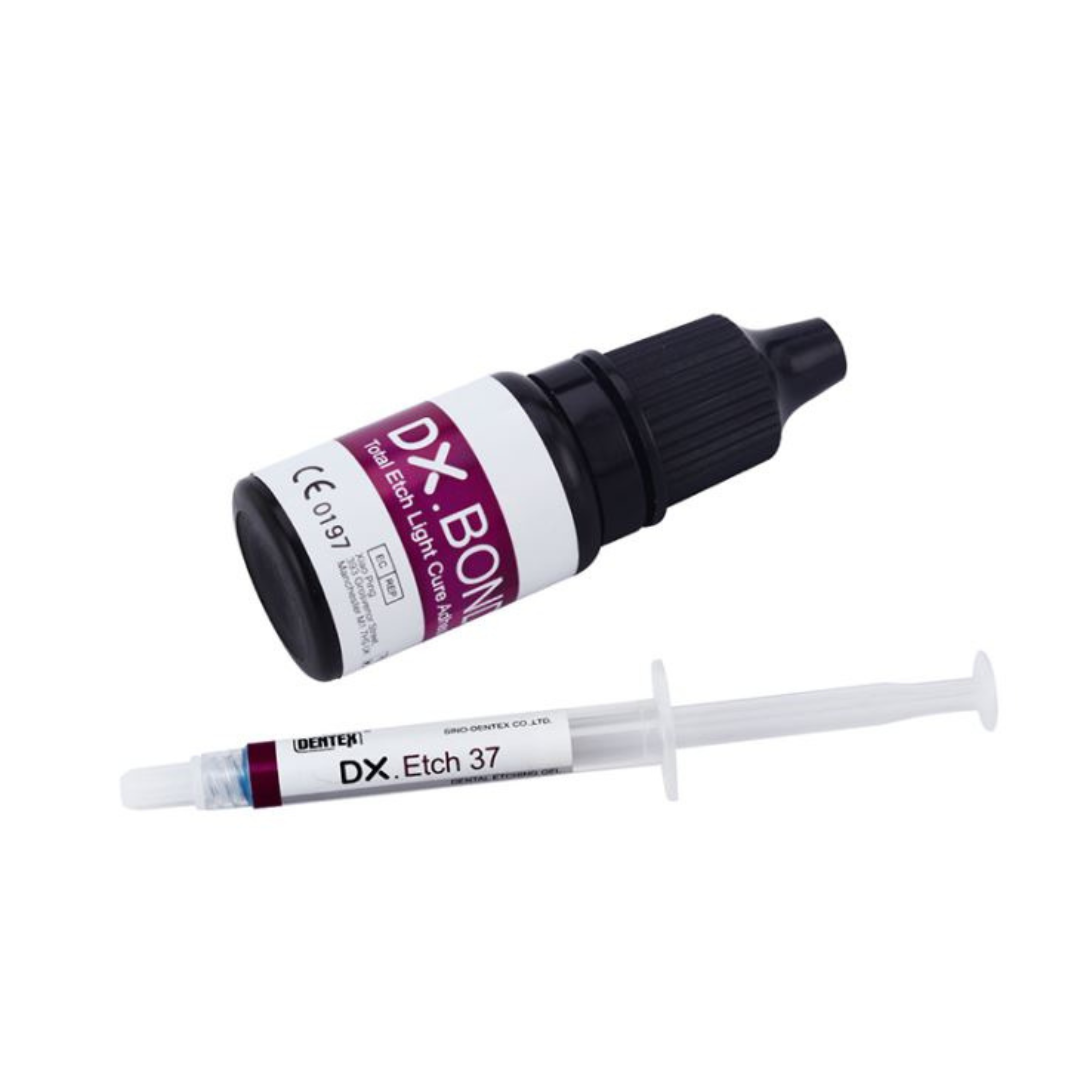
Apply Etching Gel on an area slightly larger than the gem being mounted. Leave for 20 seconds. Wipe off the gel with a moist cotton roll and in a downward motion. Clean thoroughly with a wet roll to moisten the surface. Make sure that the Etching Gel is removed and does not come in contact with the gum.
With a dry cotton roll wipe the tooth dry until you get a white frosty surface. This is vital to achieve a firm attachment. If you do not get the frosty surface, repeat the procedure.
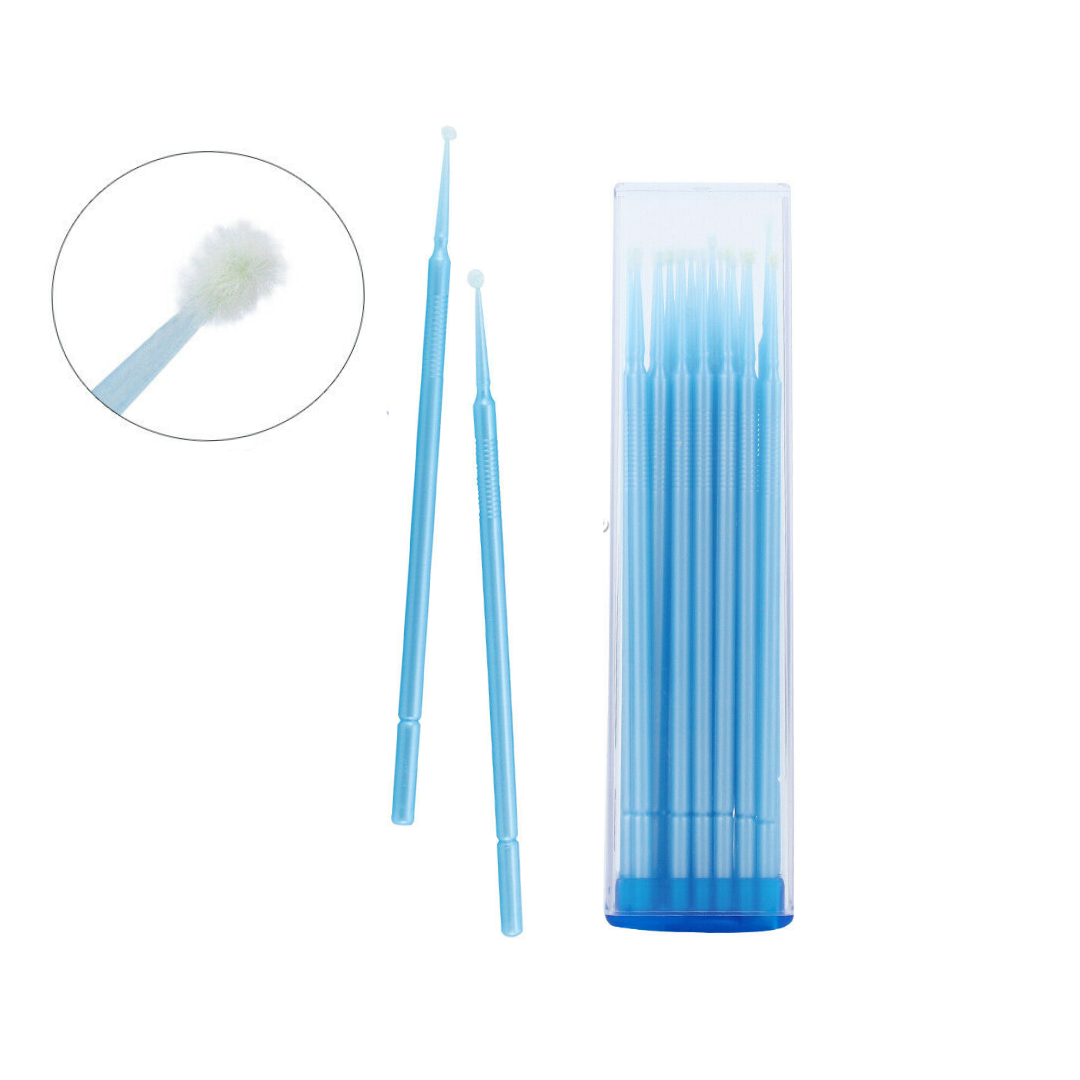
Apply a thin layer of the Total Etch Light Cure Adhesive with the micro brush to the frosty area. Dab with a cotton roll fast and light to remove any excess.
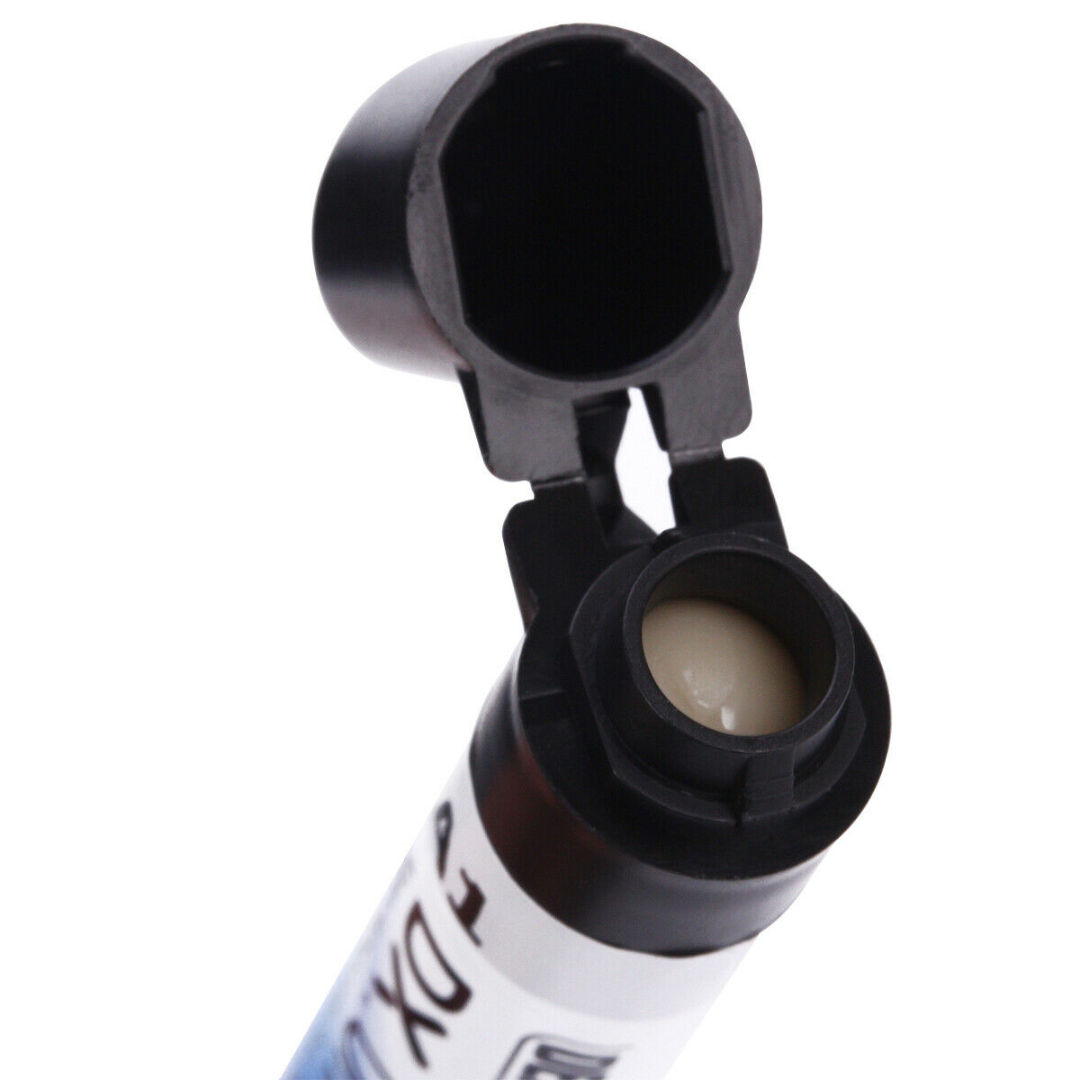
Apply a thin layer of Light Cure Composite closest to the client's tooth shade with a micro brush onto the tooth covering the etched area.
Dip the other end of the micro brush to petroleum jelly (Vaseline) and pick up the gem by gently pressing the Vaseline coated end onto the front of the gem. Do not use tweezers.
Place the gem onto the tooth and use dental probe to position the gem correctly. Use the backside of the probe to press the gem lightly against the enamel.
Smooth out excess composite product around the jewel with the probe. Leave composite thicker at the edge of the jewel, gradually thinning it out away from the edge. This creates a mechanical lock. When bonding dental crystals it is imperative to bond the side of the glass to prevent the glass from separating from the foil backing. This is best done by pushing the crystal around in the flow before pressing it in place against the enamel.
Light cure from all angles for 20 seconds on each angle, bringing the total curing time to 80 seconds.


